Sunday, December 28, 2014

Rosemary, Prosciutto, and Asiago Pull Apart Bread


Pull apart bread, I could write odes of love to thee. In fact, I could write a book of sonnets about my love of buttery bread held together by cheese, and in this case, cured meats. The way the dough pulls apart into lovely pieces bearing both crispy browned edges and soft, pillowy luxurious insides.


Up until recently I had always made lazy pull apart bread- cut up instant biscuits dipped in butter and tossed with cheese and garlic and whatever other tasty bites I felt like throwing in. But this weekend I decided to go all out and make the dough myself. 


Boy, was it worth the effort. This dough was lovely, light and fluffy on the inside and crisp and crunchy on the edges, with a lovely herb-y taste. Asiago isn't a big melting cheese, but the cheese in between the slices did become soft and gooey, while the cheese on the top became crispy and toasty. 


I expected to find standing all the dough strips up and keeping them together while I cut more to be tough, but they stood up pretty darn well on their own, and didn't lose too much of their filling either. Also, this dough was the absolute perfect amount to fill my loaf pan, so that was wonderful. 


Is there anything really so delicious as bread with cheese? Well, I suppose there is bread with cheese and meat, which is which is even better, so I included prosciutto in this recipe. I love prosciutto on pizza, and this is a bit like  a sauceless, stacked up pizza, so I suspected it would be delicious, and it was.


The meat adds a little salty, smoky bite as you nibble your way through each slice, and the pieces of prosciutto that ended up on top are lovely and crispy and crunchy and perfect. Like well done bacon, only drier and more Italian.


This is definitely a dish to serve piping hot. Ideally, you want to burn your fingers a little bit as you pull the bread apart, for optimal warm and melty bread bites, and because it's next-to-impossible to wait for this to cool once you take it out of the oven and get a whiff of how delicious it is.


This would make a appetizer worth filling up on, or you could pass it around at dinner in place of plain old rolls, at a potluck you could pop it back in the hosts oven briefly than knock everyone's socks off with its herb covered splendor. Or, if you're like me, it makes a delicious snack for three hungry twenty-somethings on a chilly Sunday afternoon. 


Rosemary, Prosciutto, and Asiago Pull Apart Bread

Dough: 
3 Cups all purpose flour
1 Cup warm water
1 package (2 1/4 tsp) yeast
2 tbsp sugar
1/4 C minced fresh rosemary
1/4 tsp salt
1 tbsp melted butter

Filling: 
2 Minced garlic cloves
1/3 C Minced rosemary (and other herbs, if you'd like)
1 C grated asiago cheese
4 tbsp butter, melted
1/4 lb prosciutto, thinly sliced
Hefty pinch salt & pepper


In a large bowl, combine warm water and sugar, stir briefly, then sprinkle yeast over top. Cover with a towel and let sit 5 minutes, until yeast has become foamy.

In a separate bowl combine the flour, salt, and rosemary. Mix well. After yeast has foamed up, add the flour mixture in three batches, mixing after each, then stir with a wooden spoon until dough begins to form. 

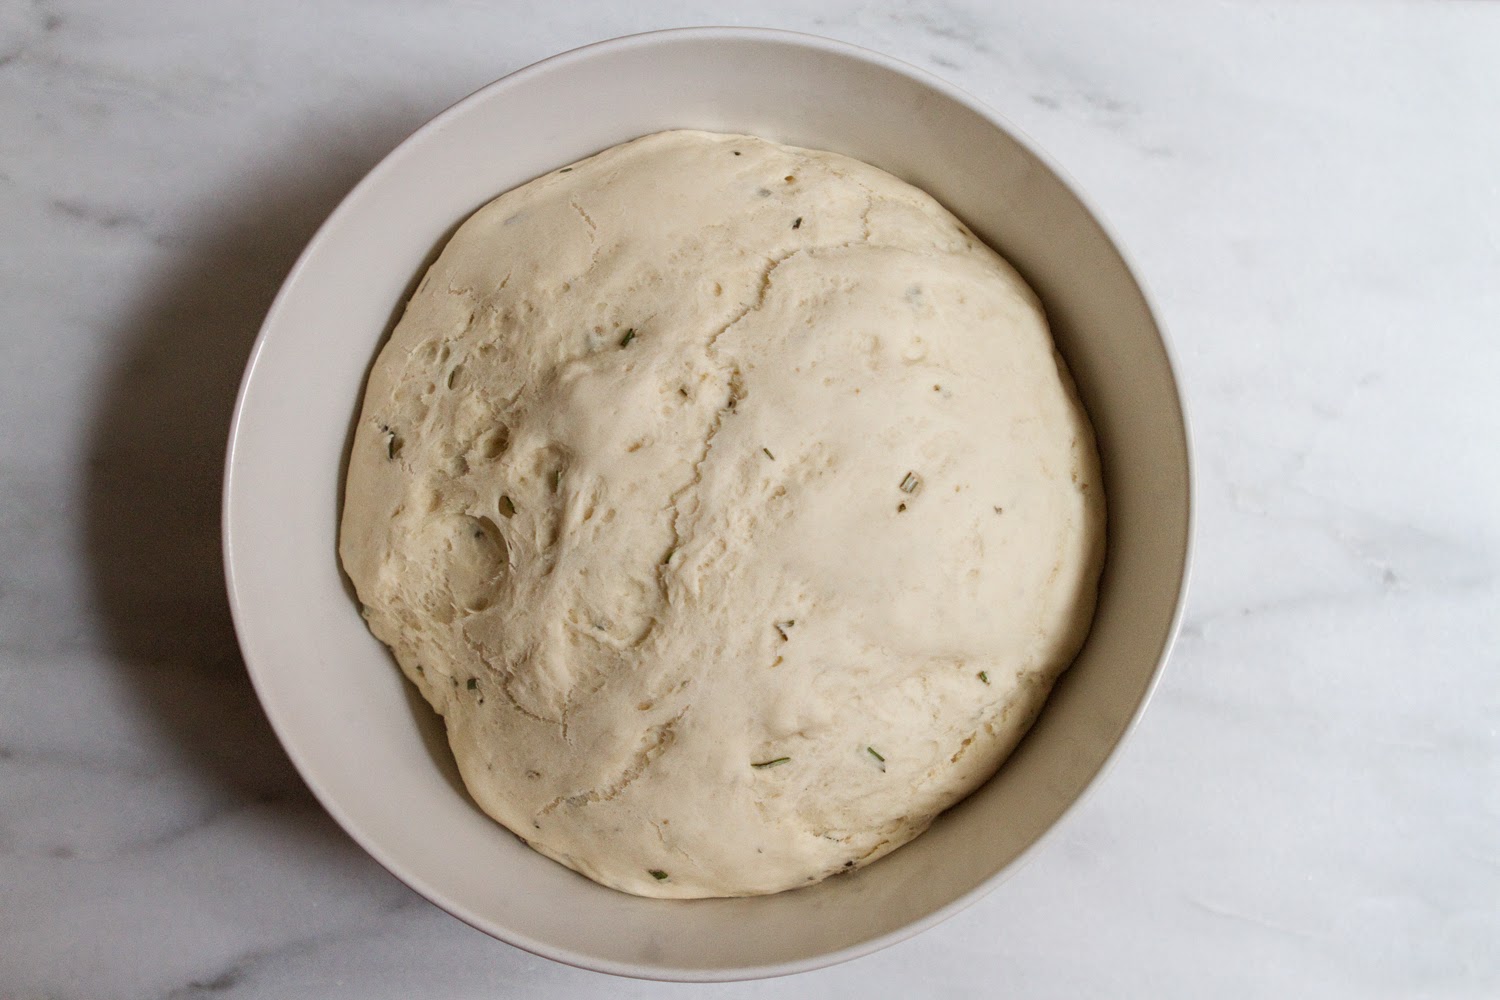
Dump dough out onto a floured surface and kneed 5-8 minutes, until an elastic, not too sticky dough forms. Lightly oil the bowl with 1 tbsp melted butter. Put the dough ball in the oiled bowl, cover, and let sit somewhere warm for an hour, or until dough has doubled in size. 

Grease a loaf pan with melted butter or oil.

After dough has risen, punch it down, then turn out dough onto a floured surface, divide dough in half, and roll out one half at a time. Roll dough into a large rectangle. Brush dough with half the 4 tbsp melted butter, then cover with half the grated cheese, half the minced garlic, and half the fresh herbs.

Using a pizza or crust cutter, cut the dough into 3" X 4" rectangles, then stack up the dough squares, and stand them on their side in the greased loaf pan. 

Repeat the rolling out, buttering, and covering of cheese, garlic, and herbs with the second piece of dough, cut it into the same size squares, and stand them in the loaf pan.

Sprinkle any herbs and cheese that may have fallen out over the top of the pan. Allow the dough to rise in the pan for another 30 minutes. 
Towards the end of the final rising time preheat the oven to 375 F. Bake bread for 20-30 minutes, until the edges are a lovely rich golden brown. 
Allow to cool for 3 minutes, then carefully remove from pan. Serve immediately and enjoy!


Tuesday, December 23, 2014

Gingerbread Cake with Chocolate Maple Whiskey Ganache


This time of year there are so many delicious pastries and sweets to enjoy- nut rolls, sugar cookies, peppermint bark, chocolate santas, but my favorite Christmas treat just may be gingerbread. While I like the cookies (and who doesn't like a crisp little gingerbread man?), I love the cake. 


Spiced treats have always been high on my list of sweets- cinnamon chocolate bars, extra spicy hot chai, ginger snaps, mulled cider, spiced eggnog, those winter beers with the ginger and cinnamon in them, these are all things I love. There's something so warming and wintery about cardamom and ginger and nutmeg and cinnamon. 


A cake like this just makes me want to pop a bunch of popcorn and make those popcorn and cranberry garlands, turn on Donny' Hathway's This Christmas and decorate the christmas tree while wearing Christmas stockings. 


You see, in my family, since my (very silly) childhood days, it is a bit of a tradition that I put on two of our (purely decorational) Christmas stockings, and pin the tree skirt around my waist while we decorate the tree. 


This is no longer something that happens every year, as Christmas tree skirts have pretty small openings and I'm worried about the integrity of said Christmas stockings, but for many years I decorated the Christmas tree dressed like a mismatched elf. 


Basically, while this cake cooks your entire house will smell so much like Christmas you'll begin to suspect you're in Santa's workshop. The ginger and cardamom and cinnamon mingling with the molasses will be enough to send you into scent bliss, but then once you begin melting the chocolate, oh, then it's like a whole new level of nirvana.  


S, our roommate, and I were all home while this cake was baking, and we were all getting high of the delightful smell. It's hard to say who was the most impatient for it to be cool enough to pour on the ganache and take the last photos so we could all devour giant slices. 


The chocolate pairs wonderfully with the deep spiced molasses flavor of the gingerbread. The ganache is dark and rich, and the whiskey adds a sharp, earthy note, a lovely contrast to the sweet maple. 


This is a sizeable cake. When I poured it into the spring form pan I initially though it was not enough batter because it was still about three inches from the top of the pan, but while baking it really rises a lot, by the time I took it out it was doming ever so slightly above the top of the pan. It barely sinks at all while it cools, and it has a lovely moist consistency and a nice crumb. 


If you'd prefer to glaze the whole cake at once instead of slice by slice, you can chill the ganache in the fridge until it's thick enough that it won't make a mess, but still thin enough to pour- about 45 minutes to an hour, and then place the cake on a large plate and slowly pour the ganache over the top then chill the cake to help the ganache set in place. Alternatively, you can do what I did and glaze each piece separately with room temperature ganache. Either way is delicious! 
Merry Christmas and Happy Holidays!


      Gingerbread Cake
12 tablespoons unsalted butter, cut into chunks 
1 1/4 cups Unsulphured dark molasses
3/4 cup brown sugar
1/3 cup white sugar
3 1/4 cups all-purpose flour
1/2 teaspoon fine salt
2 1/2 teaspoons baking soda
3  teaspoons ground ginger
1/2 tsp cardamom
1 teaspoon cinnamon
1 teaspoon vanilla 
2 large eggs, beaten
1 1/2 cups whole milk


Chocolate Maple Whiskey Ganache
8 oz semi sweet chocolate
1/2 C heavy cream
1 OZ honey whiskey
1.5 oz maple syrup


Preheat the oven to 350F, line the bottom of a springform pan with parchment paper and grease the sides. Cut the butter into chunks and place in a medium saucepan, melt over medium low heat, add the molasses and the sugars. Reduce heat to low and mix, until all the sugar has all dissolved into the butter and molasses. Remove from heat and set aside to cool.
In a separate bowl combine the flour, salt, ginger, cinnamon, cardamom, and baking soda, mix well with a fork or whisk. Set aside. 

Whisk the vanilla and milk into the molasses mixture in the saucepan, then whisk in the beaten eggs. Pour the saucepan of liquid into the bowl of dry ingredients while mixing, then stir until batter is mostly smooth. Batter will be thick.

Pour batter into prepared pan and bake for 40-50 minutes, or until a toothpick poked into the middle omes out clean. Remove from oven and place on a rack. Allow to cool five minutes, then gently run a butter knife around the edge of the cake before removing from the pan. 

While cake is baking, make the ganache. In a small saucepan or double boiler combine the chocolate and a 1/4C of the cream. Heat over medium low heat, stirring, until all chocolate has melted. Add the rest of the cream, the maple syrup, and the whiskey, and cook another 4-5 minutes over low heat. Remove from heat, pour into a jar and let it sit until the cake has cooled and the ganache has thickened. 

Serve slices of cake with thickened ganache poured over top, and enjoy! 
If storing, the ganache may thicken in the fridge. Gentle heating will re-liquify it. 


Monday, December 1, 2014

Pizza Bagels


Happy 100th post to Little Market Kitchen! Seriously, this is it, 100 posts. It took me a while longer to get to than I would have liked, but here we are, a year and a half after I started, with 100 posts! That's 100 recipes, all of them things I would gladly eat again. I hope you've tried some of them too, readers! 


For my 100th recipe I decided to go with a recreation of a food, the mere mention of which makes me nostalgic for my childhood in Ohio. It's a very familiar (and beloved) food for most Clevelanders. In Cleveland, there is an incredible market, known as the Westside Market, and one of the bakers at the market sells an incredible product. Saucy, cheesy, doughy, easily handheld, fabulous for breakfast, lunch, and snacks- Pizza Bagels have it all. 


Everyone who grew up going to the market in Cleveland has fond memories of Pizza Bagels. They're utterly unlike anything called a pizza bagel that I've ever had in any other part of the country. They are not sliced bagels topped with sauce and cheese in place of butter and cream cheese. They are not toasted to melt the cheese. No, Pizza Bagels are whole, unsliced bagels, covered in pizza toppings prior to ever being baked.


These guys didn't start life off as a plain bagel, no sir, before these were Pizza Bagels, they were just lumps of raw dough. The Cleveland Pizza Bagel dough is not standard bagel dough, either. Over the holidays I went to the market the day I left town specifically to get Pizza Bagels to bring back to NYC (and some spicy smoked meat sticks). This was the first Pizza Bagel I'd had in a few years, but it was just as I remembered- the dough was soft, softer and more luxurious than the average bagel, with just a dash of sweetness. 


Pizza Bagels don't have that slightly hard outside regular bagels have, and their insides aren't quite as chewy, so I knew I did not need to boil these bagels. But they're also fluffier than a typical bagel, and a bit sweeter. Their soft, hearty-yet-fluffy consistency is so perfect and lovely and wonderful I spent a while figuring out how to recreate it. Naturally, Frickaccio's the Pizza Bagel bakery, guards their secret recipe closely, and I couldn't find a single copycat recipe out there either. 


I though about the closest dough to a Pizza Bagel I'd ever tried outside of Cleveland, and I came up with Spumoni Gardens, the famous Sheepshead Bay pizza purveyor. If you've ever had their thick, fluffy, slightly sweet Sicilian pizza, then you've come pretty close to a Cleveland Pizza Bagel. 


So, I began by adapting a Sicilian pizza crust recipe so it would rise a bit higher and taste a bit sweeter. Then I tasted my marinara and sweetened that a bit too because apparently everything is sweeter out in the midwest. I tweaked the cooking temperature since pizzas cook fast and hot, but bagels usually cook a touch slower at a lower (but still high) temperature,


The result is fantastic. The bagel is fluffy, the sauce soaked in just the right amount, and stayed just the perfect amount of slightly wet on the outside without making the bagel seem damp, and the cheese melted and bubbled and browned wonderfully. The dough flavor is pretty spot on, with it's touch of sweet and saltiness, and while they're a bit cheesier than their Cleveland counterparts I believe more cheese is never a bad thing!


These pizza bagels were wonderful. S and I ate them for breakfast on Monday when I made them, then again for dinner alongside bowls of tomato soup. I've eaten them as after work snacks as well, and satisfied my late night munchies with Pizza Bagels more than once. I hope you like them as much as we do!


4 cups All Purpose Flour
1 tsp salt
4 tbsps oil
2 packets dry yeast
1 1/2 cups of warm water 
1 tbsp + 1/1 tsp sugar (seperated)
1 cup shredded mozzarella
2/3 C marinara sauce


In a large bowl, stir together 1/2 C flour, 1/2 C warm water, and the yeast. Cover with a towel and allow to sit in a warm place for 15 minutes. 

In a separate bowl combine the rest of the flour, the 1 tbsp sugar, and the salt. 
Alternating, add the dry ingredients, the oil, and the remaining cup of water to the yeast mixture, while stirring with a wooden spoon, until a dough forms. 

If dough is too sticky add more flour until it is workable. Dump dough out on a floured surface and knead for about 10 minutes, until the dough ball is springy and the dough is not shaggy. 

Place in a well floured bowl, cover with a towel, and allow to sit in a warm place for 1-2 hours, or until doubled in size. 

While dough rises, grate the mozzarella and set aside. In a bowl large enough to place a bagel in, add the marinara and the 1/2 tsp sugar. Mix well. 

Line a half sheet pan or cookie sheet in parchment paper, or lightly oil it. 

Once dough is risen, preheat oven to 400F. Remove dough from the bowl, and divide in half. Divide each half into four equal pieces. Shape pieces into balls, then pop your thumb through the middle to make bagels. Don't be too concerned with neatness, these don't need to be perfectly round like typical bagels.

Dip each bagel into the marinara (completely submerge all sides of it), and place onto the cookie sheet so the bagels edges are just barely, or almost touching. Once all bagels are formed, dunked in sauce, and placed on the pan, brush some extra sauce over top of the bagels so they're all well coated. 

Sprinkle the mozzarella over all the bagels until evenly coated. Bake for 20 minutes, until cheese is lightly browned and the bagels are fluffy and lightly golden on the bottom. 

Allow to cool for a few minutes before separating bagels, then serve warm. Leftovers can be stored in the fridge and reheated in the oven at 350F for about 5 minutes. Enjoy!


Thursday, November 13, 2014

Sugared Cranberries


It's cranberry season! I live just across the Hudson river from a major cranberry producing state- New Jersey. I've expounded before on the beauty and wonder that is rural New Jersey, but there are so many wonderful things that I forgot to mention the cranberry bogs.


S and I love to camp in the New Jersey Pine Barrens. In the summer we tube the Wading River and in fall and spring we hike the sandy roads to check out ruins, abandoned railroad bridges, fire towers, and cranberry bogs. There are bogs right in the state park, owned by farmers who grow for Ocean Spray. 


S and I have even sampled wild cranberries- never from the commercial bogs, but we've each tried one found growing alongside the river. They were bitter, like all raw cranberries, but also lovely and crisp. There is just something special about eating wild foraged fruits, even if it's only one or two berries. 


I like many different cranberries preparations, cranberry sauce, orange cranberry relish (my favorite part of Thanksgiving as a child), tart cranberry pie, but these sugared cranberries may be my all time favorite preparation. 


They're both sweet and tart, juicy and crisp, and the sparkling sugar topping makes them absolutely lovely to behold. Not to mention when you get a cranberry candied at the peak of ripeness and you bite into it, it makes this amazing pop noise, audible from several feet away, which is just too fun. The popping cranberries are definitely the tastiest, too.


These berries are so beautiful, they look a bit like they've been covered in snow or frost, so they seem like a magical pairing for this nippy fall weather.  At first they'll seem too pretty to eat, but after you have one you won't be able to stop. They're the most addicting thing in my kitchen right now, more addicting than the Ben & Jerry's Candy Bar Pie ice cream in my freezer. It's good, but I'd sooner eat a whole truckload of these berry delights. 


These are too beautiful to eat only as a snack though, they would be lovely on a spread of hors d'oeuvres, perhaps served with a cheese plate, or on a lavish dessert buffet. Or you could skewer them with a toothpick to use as a fancy-schmancy cocktail garnish. Or package the sugared berries up in cute boxes and give them as Christmas gifts- my aunt did this one year and I'm pretty sure I ate them all on Christmas Eve. Any way you serve them, these beautiful sugared cranberries will be a wild success. 


1 & 1/2 C Sugar, separated 
2/3 C water
8 oz cranberries

First, a note on sugar: any type of white sugar will work for the syrup, but the type you use for coating the berries at the end will impact the way they look. A very fine sugar, such a sanding sugar will give the berries a very light, thoroughly coated white look, I think of it as looking like frost in the morning. I used plain domino cane sugar which gives a more crystallized, snowy candied look. A larger grain cane sugar, such as whole foods cane sugar tends to look clumpy.

Pour the water into a medium sized saucepan, add 1 C sugar, and heat over medium low, stirring occasionally, until all the sugar is completely dissolved.

Remove from heat and allow to cool about 10 minutes. Once syrup is warm, but not too hot to touch, add the cranberries. Add just 3-4 at first, and stir them around gently. If any split open, wait a few more moments for the syrup to cool, but if they remain in tact, add the rest of the cranberries and give them a gentle stir. Make sure they're all getting wet.

If there is space in your refrigerator, just pop a lid on the sauce pan and put the whole thing in the fridge. Otherwise, pour berries and all syrup into a tupperware with a lid, and refrigerate overnight, or at least 6-8 hours.

After refrigeration, use a slotted spoon to transfer the berries to a cooling rack (I put parchment paper under mine to catch the syrup drips), and allow to dry for 20-40 minutes. 

Once berries have dried a bit (they'll still be sticky and slightly damp- this is fine), place the remaining 1/2 C sugar in a shallow dish, and add the berries, a few at a time, tossing them gently with the sugar so they're entirely coated. Return coated berries to the cooling rack. If your sugar begins to clump, run it through a fine strainer placed over a bowl, and use what sifts through. 

Once all berries are coated, give them another 20 minutes or so to fully set up, then pop them in a dish and serve, or in a tupperware and store in the fridge until you need them. They'll keep around 4-5 days, but I promise they won't last that long, they're addicting!


Wednesday, November 5, 2014

Spicy Coconut Yam Soup


Tom Kha Gai, or spicy coconut soup, is one of my favorite dishes in Thai cuisine. I love the creamy, gingery, limey broth with soft pieces of onion and tender boiled chicken, it's so warm and invigorating. For this soup I wanted to incorporate some of my favorite Tom Kha Gai elements into a heartier, more filling soup, perfect for brisk autumn evenings.


I swapped the (usually rather sparse) chicken out for plentiful chunks of bright orange sweet potato, added some green beans, and spiced it up a bit with extra chillies and a bit of curry powder. I love sweet potato in soup, it becomes so soft and luscious, and it soaks up all the delightful coconut milk and spices.


You begin this recipe by softening the onions together with the chillies, ginger, and garlic- and the smell of them all sizzling away is just phenomenal. That sharp ginger-onion-chili spice wafts out of the pan and fills the kitchen, reminding me of Balinese sambal sauce, which is made from coconut vinegar, chillies, ginger, and shallots. If I close my eyes and breathe in over this pot, I can almost imagine I'm reclining in a pondok, surrounded by rice paddies, drinking a Bintang and munching on crispy fried duck. Ahh, Bali is heaven.


If you can't find a pondok surrounded by rice paddies, this soup is a pretty great runner up in terms of heavenly experiences. I've been running every day for the past week, and after an especially windy and chilly jog this is the perfect soup to come home to.


From the first sip you can feel its warmth spreading from your core out through your sore, tired, cold extremities, all the way to your finger tips and your toes. The chillies add the perfect twist of spice that becomes a slow burn the more you eat, and the ginger adds a lovely zippiness. 


This is a fantastic dinner or lunch soup, no need to make any sides, a big bowl of this is a whole meal. It comes together quickly, making a great weeknight meal, and it'll fill you up, and warm you from head to toe!


Spicy Coconut Yam Soup

2-3 thinly sliced thai chili peppers (+ extra for topping if you like spicy soup)
3 garlic cloves, minced
1/2 yellow onion, chopped
2 inches ginger, grated
1 tbsp olive oil
1 lb sweet potato cut into 1" cubes
6 oz green beans into 1" segments
3 scallions
1 can coconut milk
32 oz chicken broth
1/2 lime
1 tsp curry powder
1 tsp fish sauce


In a large, heavy pot pour 1 tbsp of olive oil, and add the chopped onions and minced peppers. Cook over medium heat, stirring often, for 2-3 minutes, until onion begins to soften. Add the minced garlic and cook another 3-4 minutes, until onions are soft and translucent and the garlic is fragrant. 

Add the grated ginger, stir well, then add the sweet potatoes, followed by the curry powder and fish sauce. Stir well to coat potatoes in curry and fish sauce, then add the chicken broth, and coconut milk. Squeeze the juice of 1/2 a lime in, then bring to a boil. 

Once the soup is boiling, reduce the heat to medium-low, and cook 5-8 minutes. Add the green beans and continue to cook until green beans and potato are soft and ready to eat, about 10 more minutes. 

While the soup cooks, thinly slice the white and light green parts of the scallions. 
Once potato and green beans are soft, remove soup from heat and ladle into bowls. Top each bowl with freshly sliced scallion, and any remaining sliced chilies. Enjoy!