For a while when I was a child my father worked as a drafter, but the drafting gave him some sort of hand problem, carpal tunnel perhaps, and his doctor recommended that he make bread as the kneading would be good for his hands. Always a big eater of those large, hard sourdough pretzels, my father began making soft pretzels instead of bread. We would knead the dough together in a large bowl, my little child hands practically useless at working the dough into a useable form.
Waiting for the dough to rise was the hardest part. The kitchen would smell of flour and yeast and moist dough, one of my most favorite kitchen smells in the world, and the hour it took the dough to double in size always seemed to crawl by me at a snails pace while I tried to resist the urge to peak under the towel and see how the dough was doing.
But if waiting for it to rise was the worst part then rolling the dough and forming the pretzels was my favorite part. My father taught me to make the pretzel shape while telling me the legend of pretzels, that a young monk in the early days of Christianity made pretzels in the shape they are today to resemble arms crossed over ones chest in prayer.

Mostly our pretzels were proper in shape, but inevitably I made some in silly shapes like twists and hearts and swirls as well.

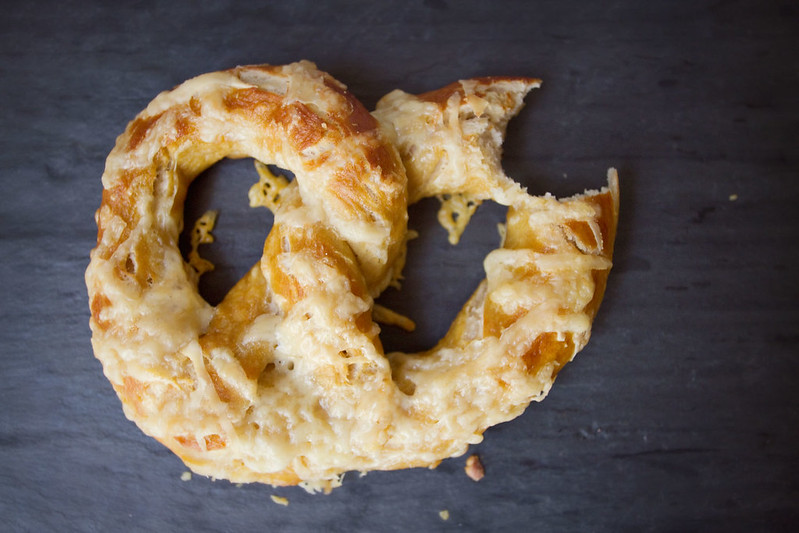
In college I started baking pretzels on my own during this big baking kick I had after a bad breakup (no, I didn't get really fat- I sent everything I baked to my ex and he got fat instead. And took me back. I highly recommend this method.) And taking inspiration from Auntie Annes I started coating my pretzels in things like cinnamon and sugar (do this after baking) and almonds (do this before baking), and cheese. Which is, of course, the best topping ever because it is cheese.
I started adding beer because two preteen girls I know told me to. Seriously. We were making soft pretzels, and they said the best soft pretzels are boiled in beer so obviously I had to try that, then on the way home I was thinking of a lager laced black bread I make and I thought to myself put the beer in the pretzels.
This was a fantastic decision and I will never make beer free pretzels ever again.
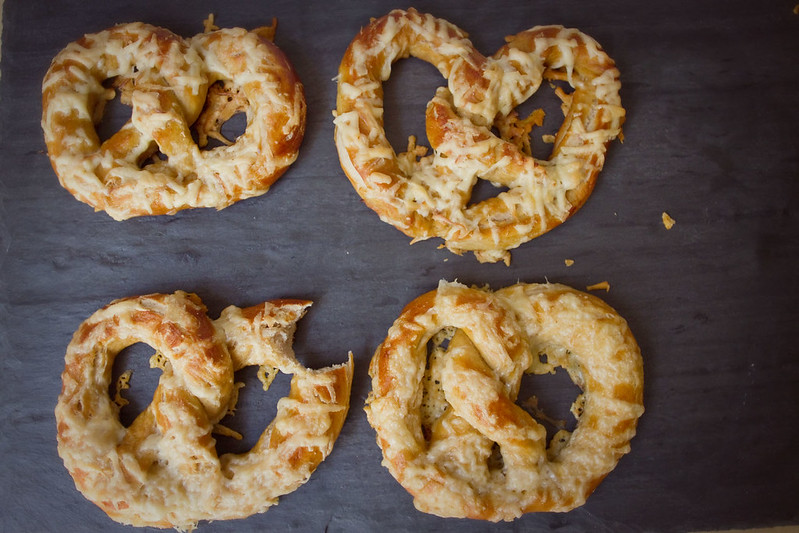
Beer Cheese Pretzels
1/2 cup warm water
1 1/2 C beer, divided into 1 C and 1/2 C (I used 1 bottle of Sam Adams Lager)
1 tablespoon sugar
2 teaspoons kosher salt
1 package active dry yeast
4 cups flour
2 ounces unsalted butter
Vegetable oil, for pan
10 cups water
1/2 cup baking soda
1 large egg yolk beaten with 1 tablespoon water
1 C Semi-Firm cheese such as Gouda or Cheddar, grated
Pour warm water into the bowl of your standmixer (or just a mixing bowl), sprinkle package of yeast over the water and let sit for 8-10 minutes, with the top of the bowl covered with a towel.
combine flour, sugar, and salt, mix until well combined. Melt butter in small saucepan over low heat or in microwave.
Measure out beer and bring to room temp- I just placed mine near my little pot of melting butter.
Once yeast has foamed up like the head of a beer add the flour to the bowl followed by the melted butter and 1 Cup beer. Using stand mixer, (I worship my Kitchenaid) or wooden spoon mix until a dough forms, adding more flour if the dough is too wet, more water or beer if it is too dry.
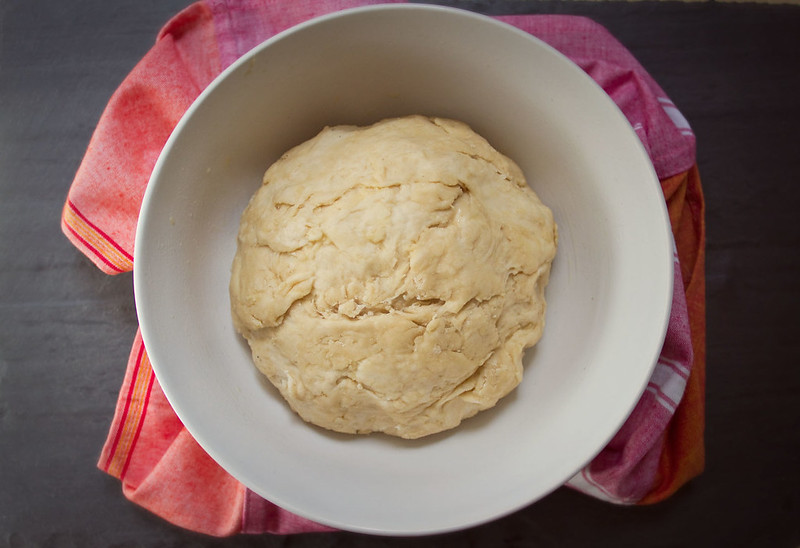
Once dough comes together, give it a couple of kneads, maybe five or so, then form into a ball and place in a lightly oiled bowl. I also rubbed my dough ball down with a bit of melted butter, but this is optional.
Allow to rise 1 hour, or until dough doubles in size. I like to cover my bowl with a towel and put it in a warm place like inside a slightly warmed (then turned off) oven, or on top of a running radiator.
Once dough has risen, combine the remaining 1/2 Cup beer, the 10 Cups water, and the baking soda and bring to a boil. Preheat oven to 450 degrees fahrenheit.
Divide dough into 8 individual segments. Take one segment and roll into a long rope on a lightly floured surface. I start with my hands in the middle of an oblong piece and then roll it back and forth to form the rope, while also moving my hands towards the outer ends of the rope, when I get to the edges I pick my hands up, put them in the middle and roll some more. This way you're always pushing from the middle out, constantly lengthening the rope.
I roll my pretzels out to be about 18inches long, then form the rope into a U, twist the two ends around each other, and stick the ends to the bottom of the U, forming a pretzel shape. I made a gif part way down the page to illustrate pretzel folding- it's super easy.
Once your pretzels are shaped, boil them for 30 seconds, 1 at a time in the beer/water/baking soda combo, then remove with a spatula and place on a lightly greased parchment paper on a baking sheet. Brush with the yolk/water mixture and top with grated cheese.
Bake for about 12 minutes or until the pretzels are a deep golden brown and the cheese has melted.
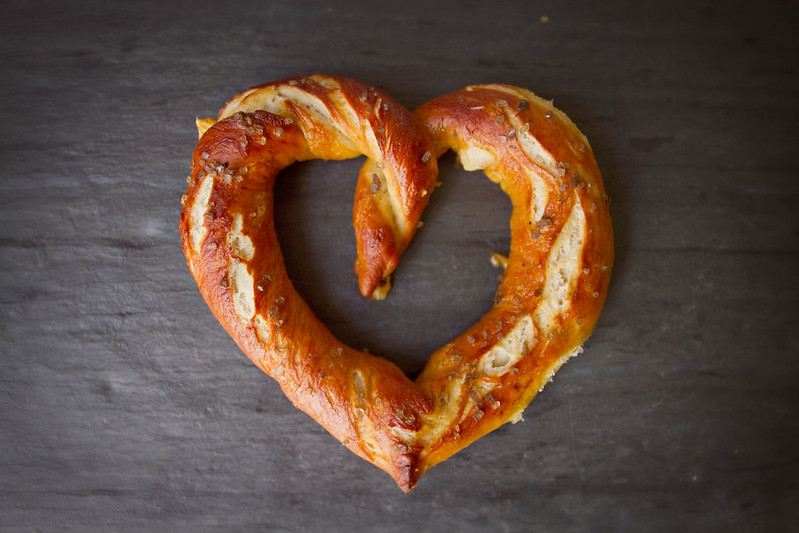
I made a few cheese-less heart shaped pretzels too. To make these roll your dough out to about 15" then roll the ends a bit more until they're narrow and tapered, take the ends and twist them together into a cute twist, then form a heart with the twist as the dip in the middle of the heart, and pinch the dough to make a slightly pointed bottom. When you place this into the boiling water try to retain a heart shape. It's way easier than it looks so give it a shot!