Growing up in Cleveland I loved beer cheese soup. Rich broth laden with cheddar and spiked with just enough beer, the thick blended vegetables rounding it all out, a soup worth dreaming about. It was not until I moved to the West Coast and couldn't find it on a single menu that I discovered Beer cheese Soup is a midwestern specialty. At the time I lived with my midwestern exboyfriend, who would whip up monstrous batches of the soup, which we would then eat together, on our own, because all of our friends were vegetarians or vegans.

When I moved to New York, I looked for Beer Cheese Soup. I searched menus.com and delivery.com, I looked on yelp, I checked specialty soup places, but there was none to be found. Oh well, I thought, I'll have to learn to make it then.
Well, it's taken me about two years to learn to make a satisfactory beer cheese soup. My first attempts were too brothy, or too beery, never enough cheese. Later they were too cheesy, and it didn't fully incorporate into the broth. And always, always, these early prototypes were lacking in something.

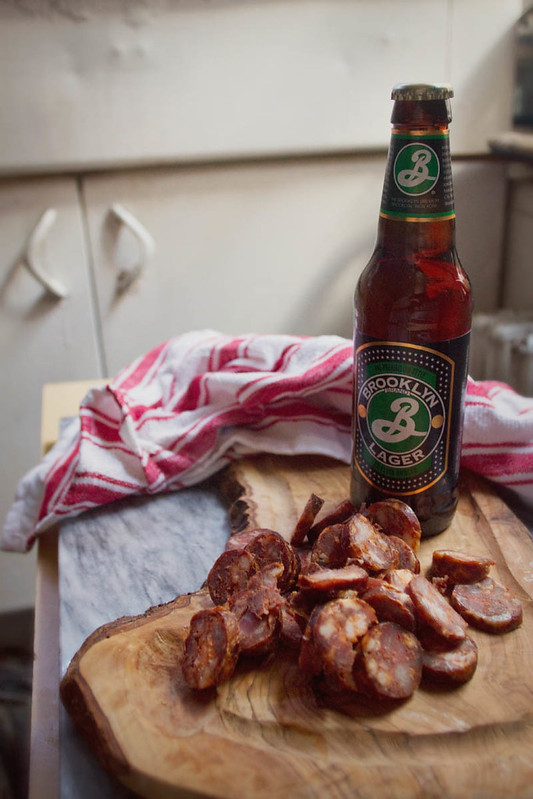
That something, it turns out, was spicy meat grease. I learned to balance the broth and cheese levels, deduced that some gouda really amps up the cheese flavor, but still something was lacking. So I decided to try adding meat. Cooking anything in meat drippings generally improves it's flavor, after all.
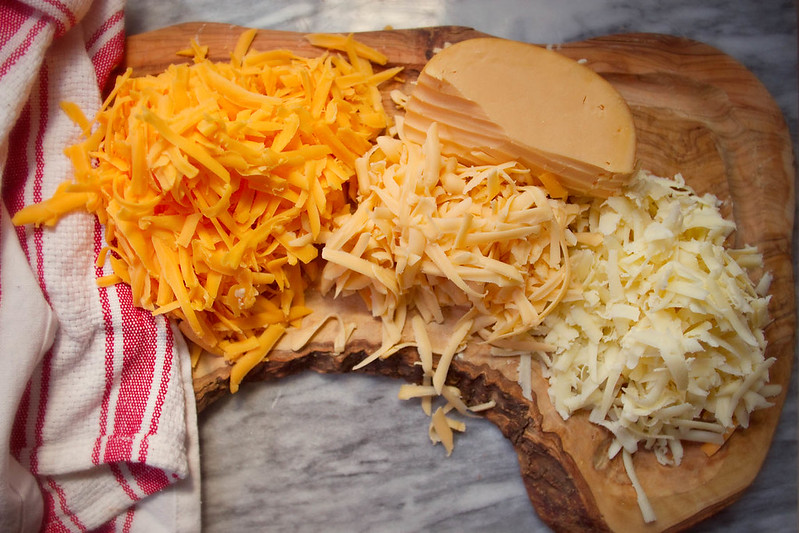
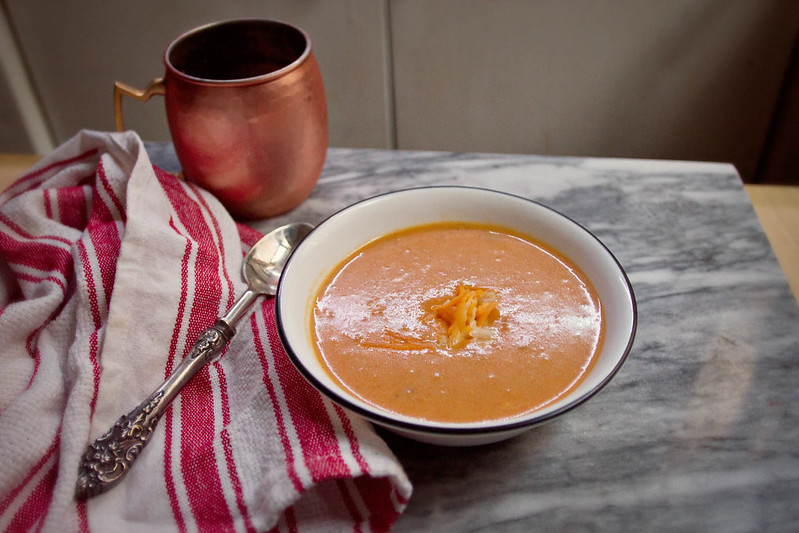
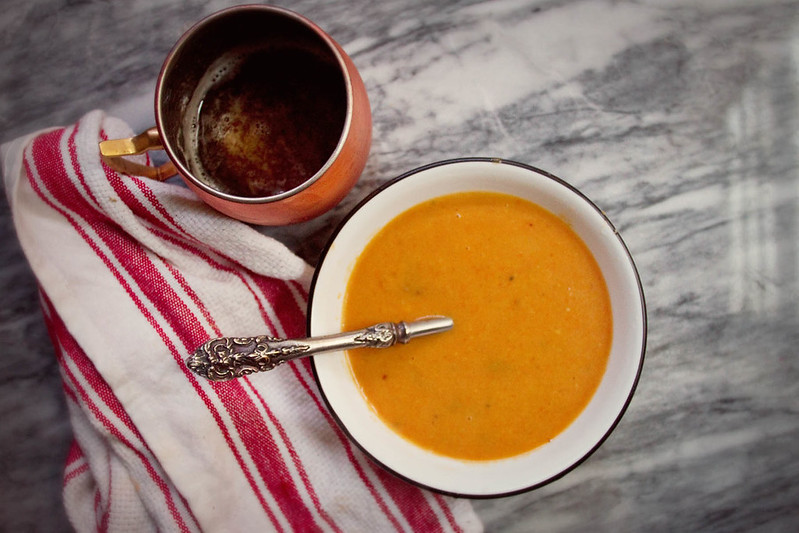
The addition of the sausage really takes this soup to a new place, and it's one I want to go to often. It's incredibly rich and velvety in texture, and the flavor is heavy on the cheese, but the vegetables, beer, and spicy sausage all definitely contribute to the taste. I used three different cheeses- a standard Darigold cheddar, a three year aged cheddar from Quebec, and a lightly smoked, soft wedge of gouda. The mildness of the Darigold cheddar helped to balance the sharp aged cheddar, and the gouda added a nutty bite and a bit of smoky flavor. This soup was delightful, and would be fantastic on any cold autumn evening.

Spicy Sausage Beer Cheese Soup
2 tbsp butter
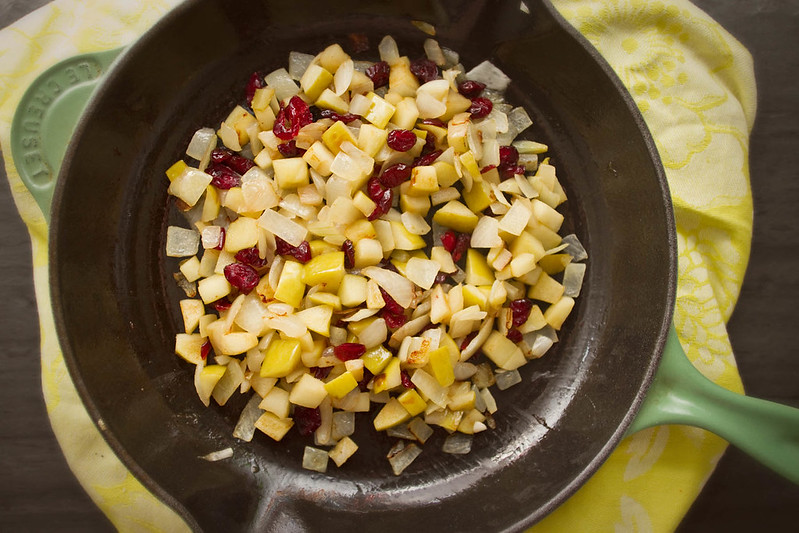
1 onion - chopped
1 large carrot - chopped
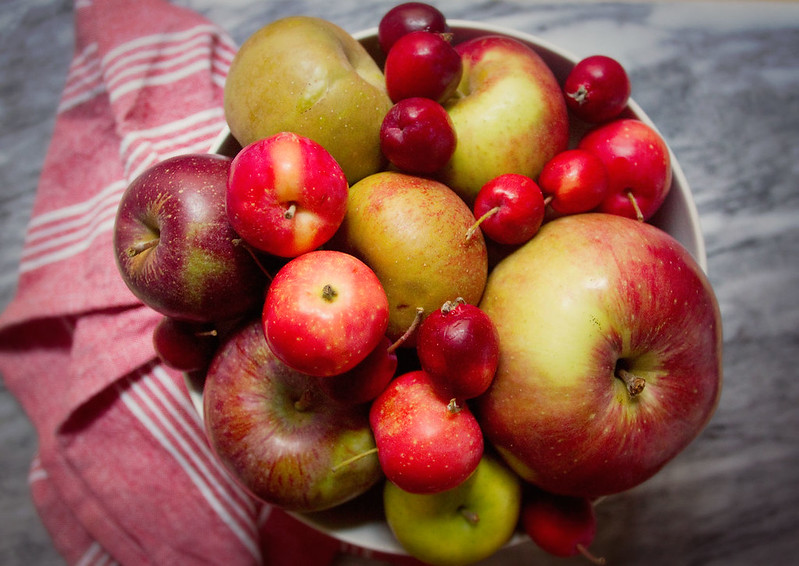
2 small golden potatoes - chopped
3-4 cloves garlic - chopped
2 tbsp C flour
4 C Chix stock
1 bottle lager 11 oz
2 C cheddar
2 C gouda
2 spicy sausages about 1/3 lb
Cut sausages into 1/2 inch thick slices.
Add butter to the bottom of a soup pot, heat over medium-low until melted, then add the sausage slices and cook until browned and heated through (I used smoked sausage. If using uncooked sausage, fry until sausage is fully cooked). Remove sausage from pot, leaving as much grease in pot as possible, and set the sausage aside.
Next, add the garlic and onions to the pot with the sausage grease, and cook until onions caramelize, about 8-10 minutes.
Once onions are caramelized and delicious, sprinkle the flour over top and mix well, when all the onions and garlic are well coated in flour, add the beer to the pot in three splashes, mixing well after each added splash, to deglaze the pan. Mix well and cook over low heat until the roux thickens some, about 2-3 minutes.
Add the chopped carrots and potato and mix well, then add the chicken stock. Bring to a boil, then reduce to a low boil and cook for about 30 minutes, until the potatoes and carrots are soft.
While soup cooks, grate the cheese and set aside.
After the potatoes and carrots become soft, remove the soup from heat and either blend in batches (I blended just my solid bits, then mixed it back in with my broth so as to blend in one batch), or process with a immersion blender, or a food processor, until soup is smooth and thick.
Return soup to pot, and heat over medium low until soup is hot again, then begin adding the cheese. Stir in a random zig zag pattern while adding cheese, to avoid forming a cheese ball. Reserve some cheese to garnish with.
Serve in large bowls garnished with grated cheese and a small handful of spicy sausage slices.
To reheat leftovers, heat over low on the stove and mix often to avoid cheese separation.