I baked this cake on Sunday, and when it was done I opened the oven, bent down to remove it, inhaled deeply, and was immediately thrust back in time to my childhood in Ohio, and biting into fresh gingerbread smothered in apple butter at Christmas in Frostville.

Frostville is one of those living museums, a historic town preserved in valley park, and at Christmastime one can come down and tromp over the snow covered fields from preserved house to preserved cabin and learn about Christmas traditions throughout American history. One house is always baking gingerbread, and it has long been my favorite.
It's a small house, the gingerbread bakes in a wood burning oven in the kitchen, but the smell permeates from the back porch straight through into the teeny tiny bedroom. It's warm and rich, dark, cinnamon-ginger-y, with a heavy taste of molasses. However, snacks are not served in the historic houses, so while you tour the house, your mouth watering, you dream of the barn, where the snacks are waiting.
There is hot apple cider, frosted sugar cookies in the shapes of candy canes and gingerbread men, and of course, there is gingerbread and apple butter. Biting into that thick layer of sweet apple butter atop spicy, complex gingerbread was emblematic of the entire holiday season to me as a child.
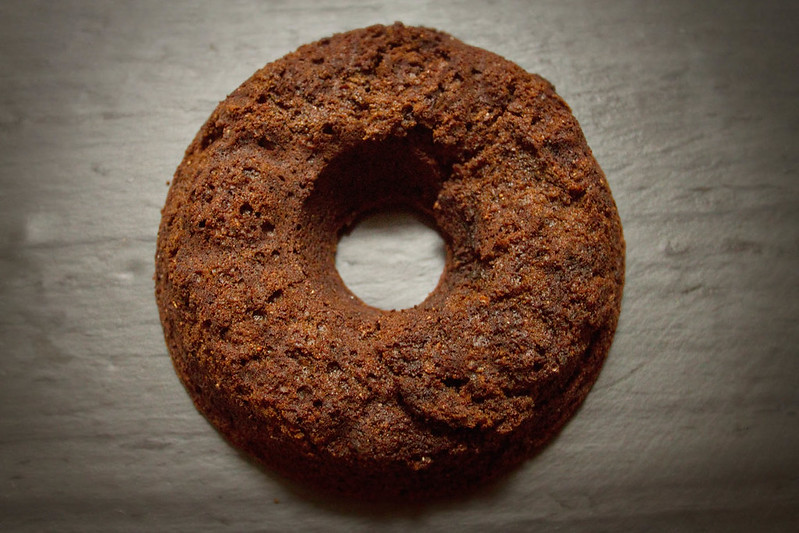
The gingerbread I present to you today is my attempt to match that experience.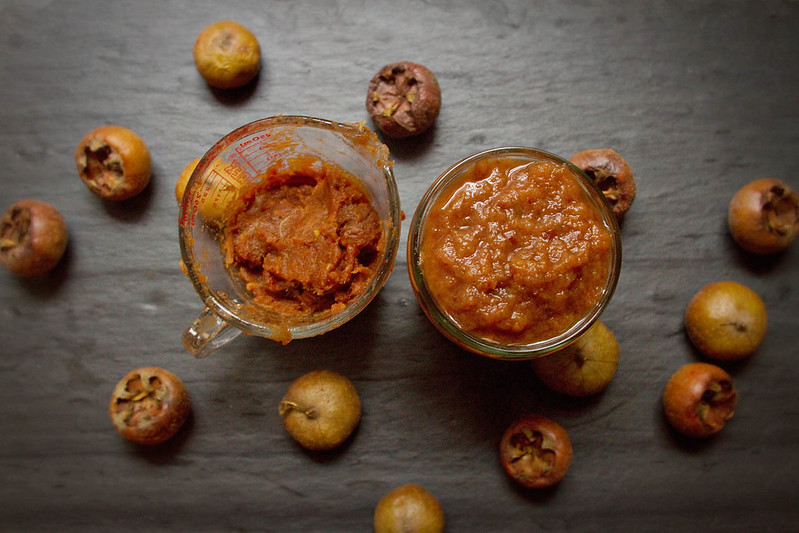
This gingerbread is luxurious. The fresh ginger and molasses are the strongest flavors, but the medlar (or apple, up to you), is not lost in the cake at all, I found my medlar flavor came in bits and bursts of creamy applesauce taste.

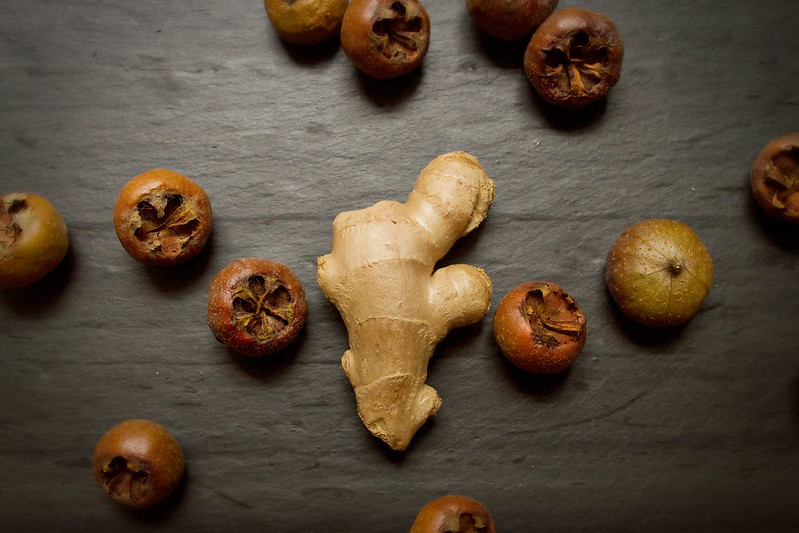
What is a Medlar? You may be wondering. A medlar is a delightful fruit. It's quite an old fruit, everyone from the ancient Romans to the medieval Brits have enjoyed the medlar. Shakespeare wrote about the medlar in several of his plays, but what he had to say about it was a bit, uhm, naughty. Apparently Shakespeare thought medlars looked a bit like a ladies... well, bits. As a lady, however, I'm not sure I see the likeness. And I've very recently looked at a lot of medlars.
Anyway, literary references and innuendos aside, I assure you the medlar is a wonderful fruit. I've had two opportunities to bring some home, both times from Maggie Nesciur of Flying Fox's fruit stand at New Amsterdam, the best darn market in town.

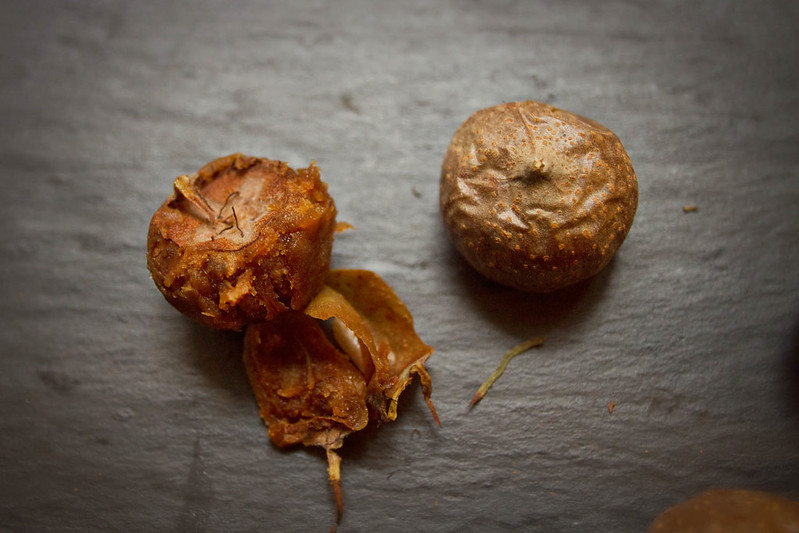
Medlars are a small fruit, brown and hard when harvested, but you must blet them before eating them. Bletting is a process of over-ripening the fruit. It's very easy, simply arrange them, upsidedown, on a cookie sheet and set it somewhere fairly cool until they're all very soft on all sides, which took mine 1 week the first time I had medlars, but over 2 weeks this time. Then you can cook with them. Or just peel and devour them because they taste like cinnamon-creamy-applesauce-pie-heaven.
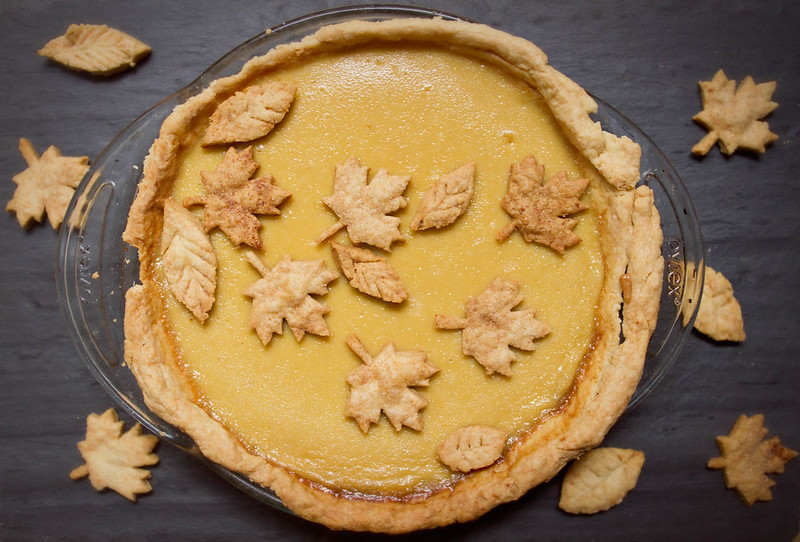
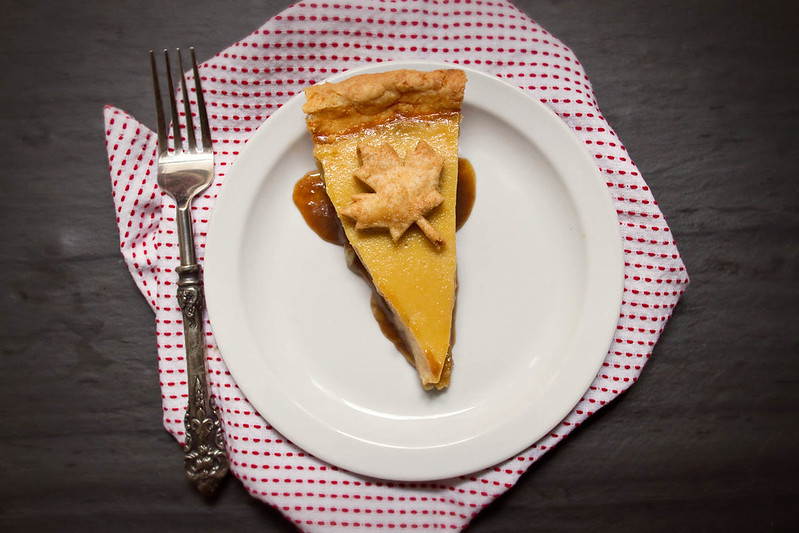
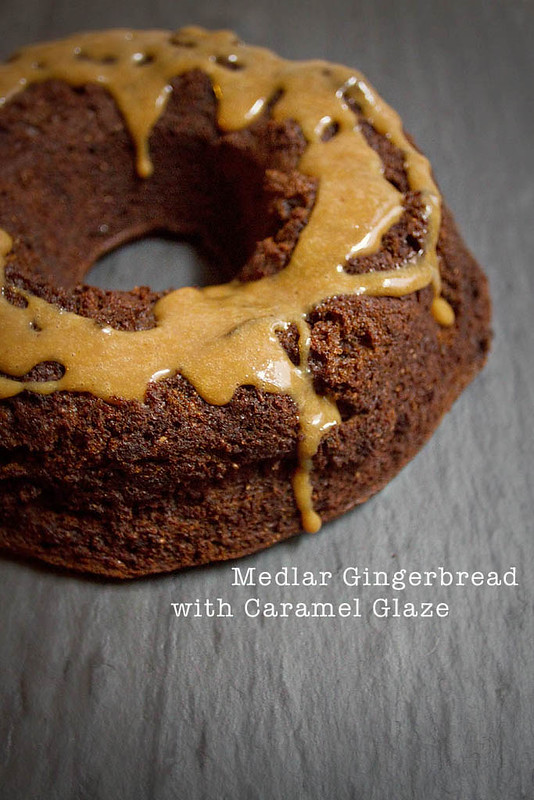
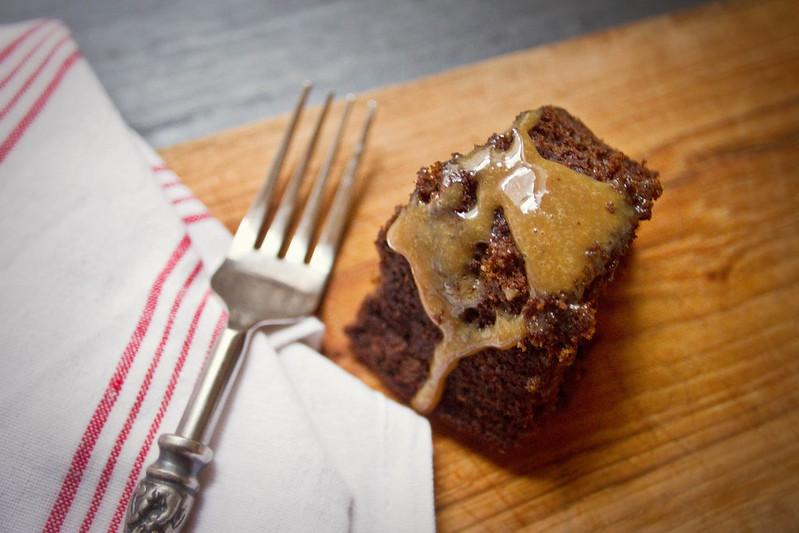
I know I said this was my month of Thanksgiving, and I know gingerbread probably seems a bit more Christmas than Thanksgiving, but I assure you this is a lovely dish for Autumn as well, especially with the caramel sauce drizzled over top. Also, Christmas is coming, guys. It's coming.
If tracking down medlars and waiting for them to blet doesn't sound like a great time to you, applesauce will make a fabulous substitution, which I why I'm providing my go-to slow cooker maple applesauce recipe which makes a vat of dark golden brown, maple swirled apple goodness, it's at the bottom of the page.
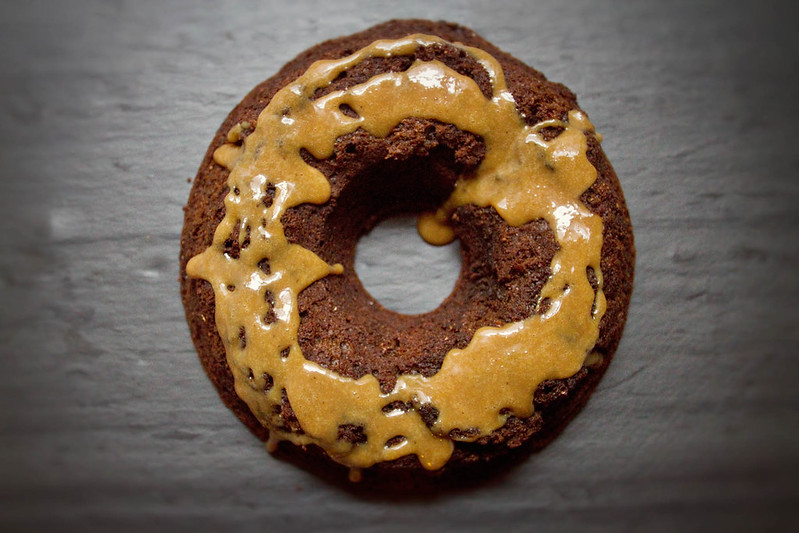
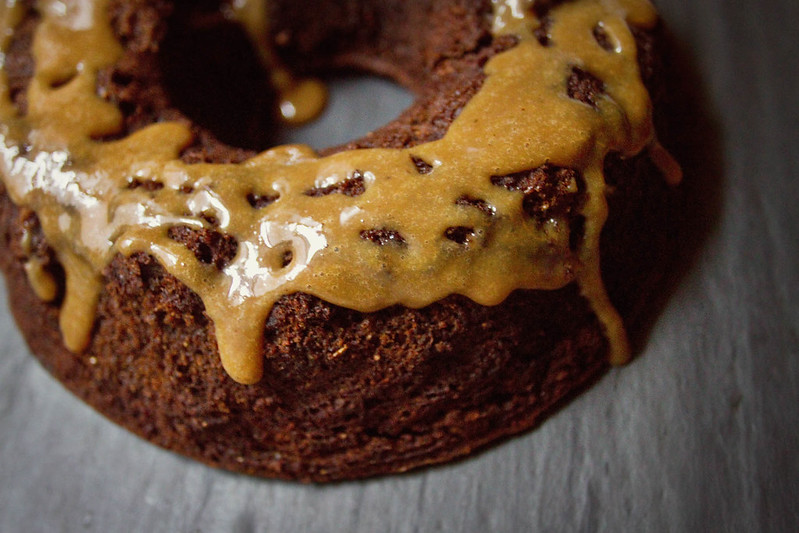
Medlar Gingerbread with Caramel Glaze
This recipe will make 1 large bundt cake or two smaller cakes. I made 1 small bundt and 1 small rectangular cake.
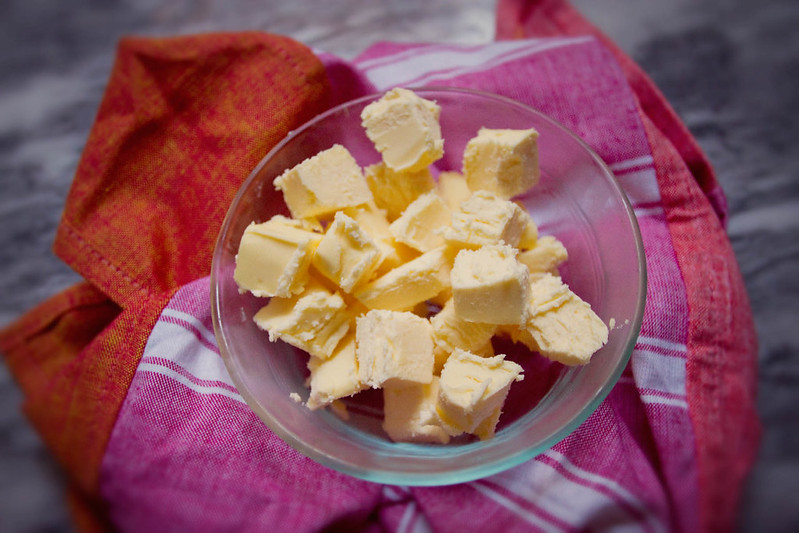
1 C butter
2 Cup Flour
2 Cup Flour
1 C Brown Sugar
1/3 C Molasses
About 24 bletted medlars (or 1 C applesauce)
4 tsp grated fresh ginger
3 tsp cinnamon
1/2 tsp all spice
3 eggs
1/2 C water
2 tsp baking soda
1/2 tsp salt
Caramel Glaze:
1 packed cup brown sugar
1/2 cup heavy cream
4 tablespoons butter
Pinch salt
Medlar Preparation:
Caramel Glaze:
1 packed cup brown sugar
1/2 cup heavy cream
4 tablespoons butter
Pinch salt
Medlar Preparation:
Medlar flesh is like a paste consistency, or super thick apple butter. I used about two pounds of Medlars. Make sure yours are thoroughly bletted (allowed to overripen). Medlars are best when very soft, the inside should the consistency of applesauce, and will also smell like lovely cinnamon applesauce. To blet the medlars place them top down on a cookie sheet and sit them near a cool window until very soft. This took my medlars about two-three weeks.
Once bletted, peel your medlars (this is pretty darn easy, the skin is soft and thin), and separate the flesh from the skin and seeds. This is tougher. Most of the medlar is seed, but the flesh grows around and between them. I found it easiest to completely peel the medlar, then run my thumb between each seed and extract the flesh. Put all the flesh into a measuring cup to keep track of how much you have. I also tried to remove as much flesh from the skins and seeds as possible.
I peeled and defleshed about 20 medlars for this recipe (all my ripe ones), and got about 3/4 cup of medlar fruit. Supplement with applesauce if needed to bring the measurement up to 1 Cup.
Medlar Gingerbread:
Preheat oven to 350 degrees fahrenheit.
Grate your fresh ginger. You can do this with a ginger grater, or my personal favorite, a microplane (I bought mine about a year ago, and I'm in love with it, and the short work it makes of hard vegetables and cheeses).
Cream together the butter and sugar in a large bowl with a stand mixer, fork, or a hand mixer. Add the medlar flesh or applesauce, and molasses, mix again. Add the eggs and spices, mix again until well combined. Add water, and beat until well incorporated.
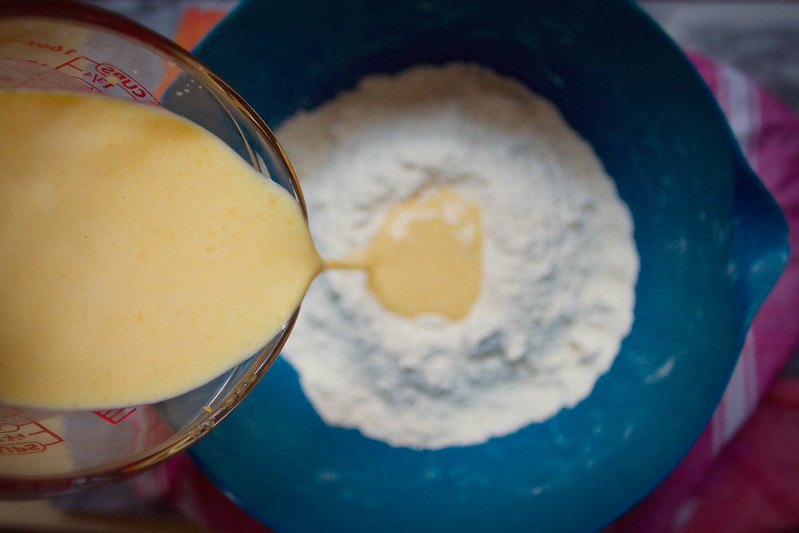
In a separate bowl combine flour, salt, and baking soda. Mix well with a fork until thoroughly blended.
Slowly add the dry ingredients to the wet while mixing on low speed. Scrape the sides of the bowl and mix again until all ingredients are incorporated. Try not to over mix.
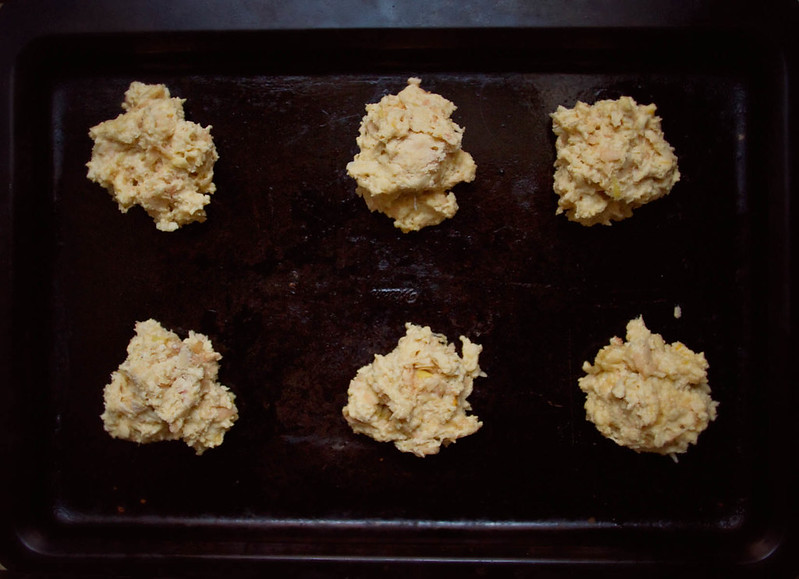
Pour into a well greased bundt pan and bake 45-55 minutes, until a toothpick inserted into the center comes out clean.
Let mostly cool before pouring on glaze.
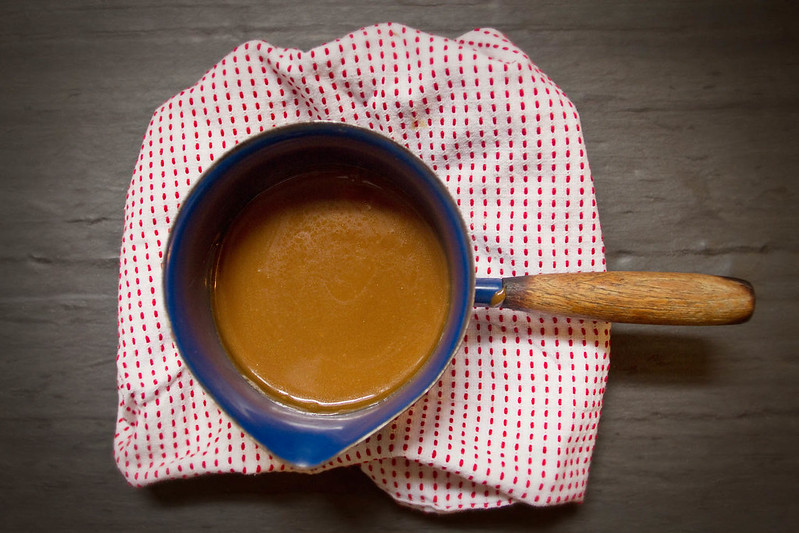
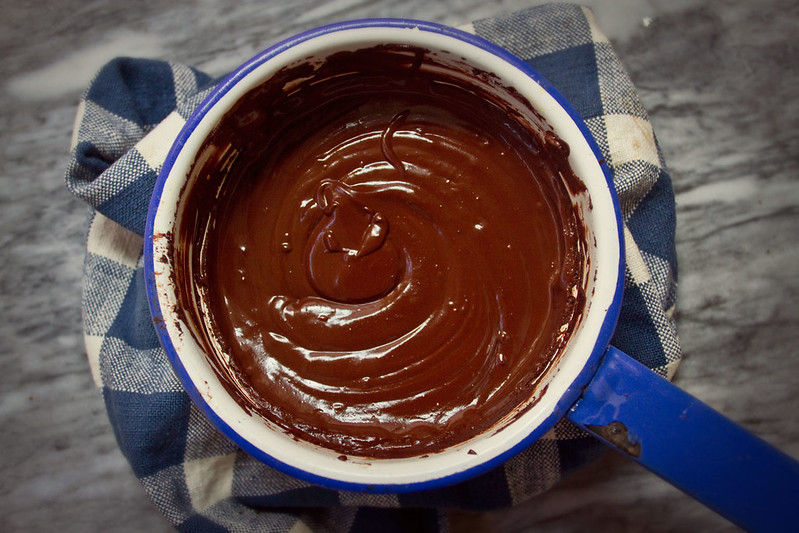
Caramel Glaze
Add the cream, butter, and brown sugar to a saucepan and mix over low heat, whisking until the butter melts and the brown sugar breaks up into the milk, then turn heat to medium and cook 6-8 minutes, whisking continuously, until it's thickened up to a nice glaze consistency. Set aside to cool.
Let mostly cool before pouring on glaze.
Caramel Glaze
Add the cream, butter, and brown sugar to a saucepan and mix over low heat, whisking until the butter melts and the brown sugar breaks up into the milk, then turn heat to medium and cook 6-8 minutes, whisking continuously, until it's thickened up to a nice glaze consistency. Set aside to cool.
Slowcooker Maple Apple Sauce
8-10 apples of varying types
1/3 C maple syrup
1/4 water
If you prefer your apples peeled, you may peel them. I don't peel mine, and find that once blitzed, the skins are undetectable in the sauce, however I never peel my apples in any recipe, so if you prefer a peeled apple in baked goods, feel free.
Chop apples into 1x1 inch pieces and toss them in your crock pot along with the water and syrup. Set your slow cooker to low and cook for 6-7 hours.
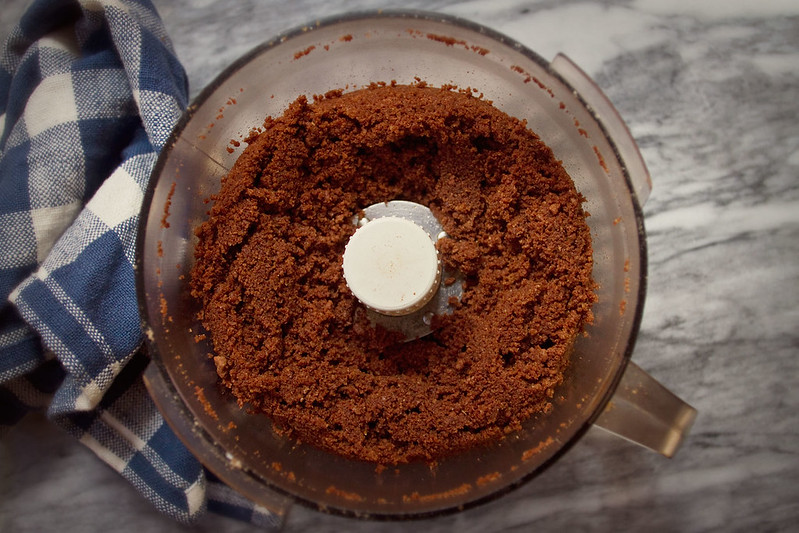
Remove any excess liquid (leave a bit though, just don't allow the apples to be swimming in it) then, if you prefer a chunky apple sauce, mash it up with a large spoon. If you prefer it smoother, pour the mixture into a blender/food processor and blitz until smooth. I did mine in my food processor for about 1 minute, and it came out mostly smooth.
Eat it hot, or pop it in your fridge. It should last up to a week in there.